Personalize your accessories: a practical step-by-step guide
, by Gary KAGO , 15 min reading time
, by Gary KAGO , 15 min reading time
Discover the steps to personalize your fashion accessories with our practical guide. Show off your unique style and transform your pieces into...
TL; DR:
- Customizing accessories allows you to assert a unique and creative style.
- Materials like cotton, smooth leather, and canvas are preferable for long-lasting results.
- Preparation, the right choice of products and patience guarantee successful customization.
The accessories sold in supermarkets all look the same. Finding a truly unique piece becomes almost impossible when the same bags, jewelry and tote bags are repeated from one store to another. Personalization changes everything. It allows everyone to imprint their vision, their colors and their universe on everyday objects. This guide outlines concrete steps, accessible at all levels, to transform an ordinary accessory into a unique piece that truly suits you.
| Point | Details |
|---|---|
| Choosing the right medium | Material compatibility is the key to sustainable and successful customization. |
| Careful preparation | Preparing the substrate and using the right products prevents the majority of failures. |
| Dare to be creative | Mixing techniques, customizing by theme and drawing inspiration from trends guarantees you a unique style. |
| Protecting your creation | Fixing and protection are essential for your work to withstand use and time. |
After understanding why personalization is the key to self-expression, let's find out how to choose the ideal accessory to make your project a success.
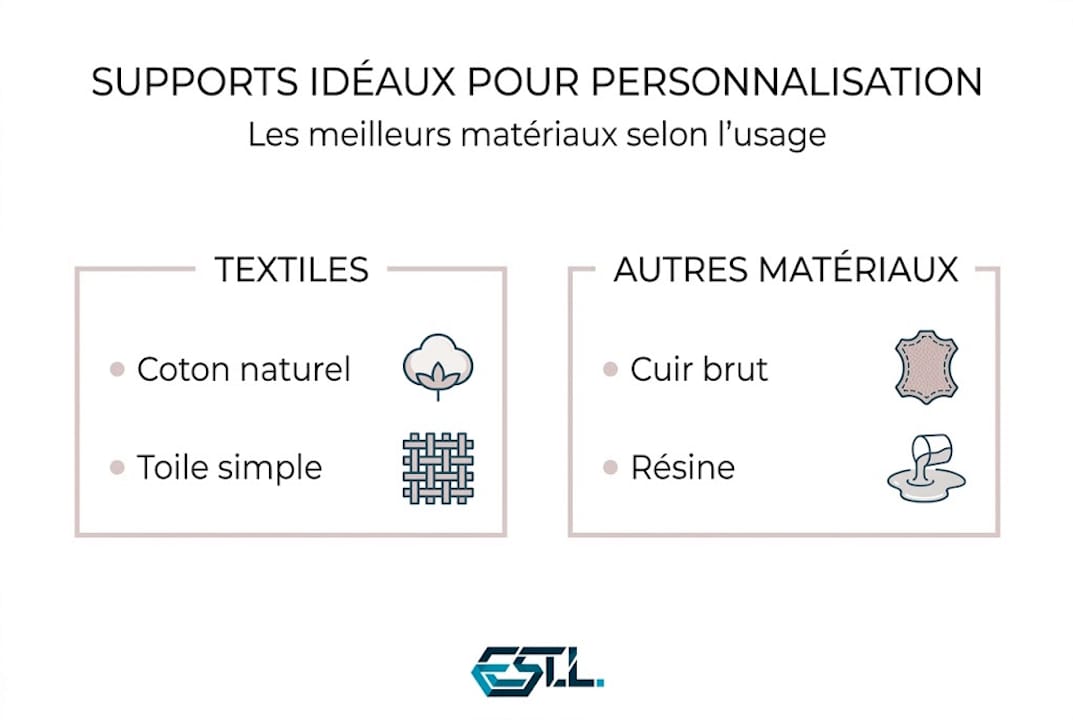
Not all accessories can be customized with the same ease. Some media offer much sharper and more durable results than others. cotton tote bags, canvas bags, fabric sneakers, and smooth leather belts are some of the best choices to start with. Their even surface accepts textile paints, felt-tip pens, patches and embroidery well.
Raw metal or resin jewelry, caps and fabric pouches are also good candidates. On the other hand, very synthetic materials such as smooth nylon or shiny polyester pose more problems: paints do not adhere well and fixatives have difficulty penetrating.
For those who want to discover trendy accessories before taking the plunge, it is useful to be inspired by current pieces to guide their creative choices.
The choice of material is decisive to avoid customization failures. Here are the supports classified according to their practicality:
| Support | Ease of customization | Durability | Aesthetic rendering |
|---|---|---|---|
| Natural cotton | Very easy | Excellent | Natural and warm |
| Smooth leather | Easy with good primer | Very good | Luxurious and precise |
| Synthetic Canvas | Medium | Good if well fixed | Modern and clean |
| Jute / raphia | Easy | Correct | Handcrafted and textured |
| Raw metal | Difficult | Good if varnish | Graphic and minimalist |
Natural textiles absorb paints and inks more evenly. Leather requires a specific finish (a preparatory layer that improves adhesion), but the final result is often spectacular.
Many projects fail because of a poor choice of medium, not a lack of talent. Here are the most common pitfalls:
Pro tip: Before you buy any hardware, touch and look at your stand. Fabric that is too loose or too shiny will give a smudging result, even with the best technique.
The art accessories already created can also be used as a visual reference to understand which materials produce the most successful effects.
Once you've selected the accessory, it's time to make sure you have everything on hand to get started.
A good customization project is based above all on the right equipment. Here's what you need to gather before you start:
These tools cover most of the basic techniques. Depending on the project, other supplies are added: needles and threads for embroidery, rhinestones and hot melt glue for shiny effects, or spray paints for gradient effects.
Some products make all the difference between an amateur result and a clean and durable result.
| Product | Usage | Why Use It |
|---|---|---|
| Textile finish | Before you paint | Improves color adhesion |
| Textile medium | Mix with acrylic paint | Makes painting flexible on fabric |
| Spray Spray | After creation | Protects patterns from friction |
| Leather varnish | On leather painted areas | Permanently seals and protects |
| Thermocolle | For patches and appliqués | Seamless fixed |
The use of a primer and a hairspray is recognized as essential to guarantee the longevity of the customization. Without these steps, the patterns often fade after a few weeks of use.
For specific supports such as tote bags, these products remain essential.
The organization of the work area directly influences the quality of the result. A few simple rules:
A clean and well-organized space prevents accidents like unintentional stains or unwanted color mixing. The preparation takes 10 minutes but saves hours of corrections.
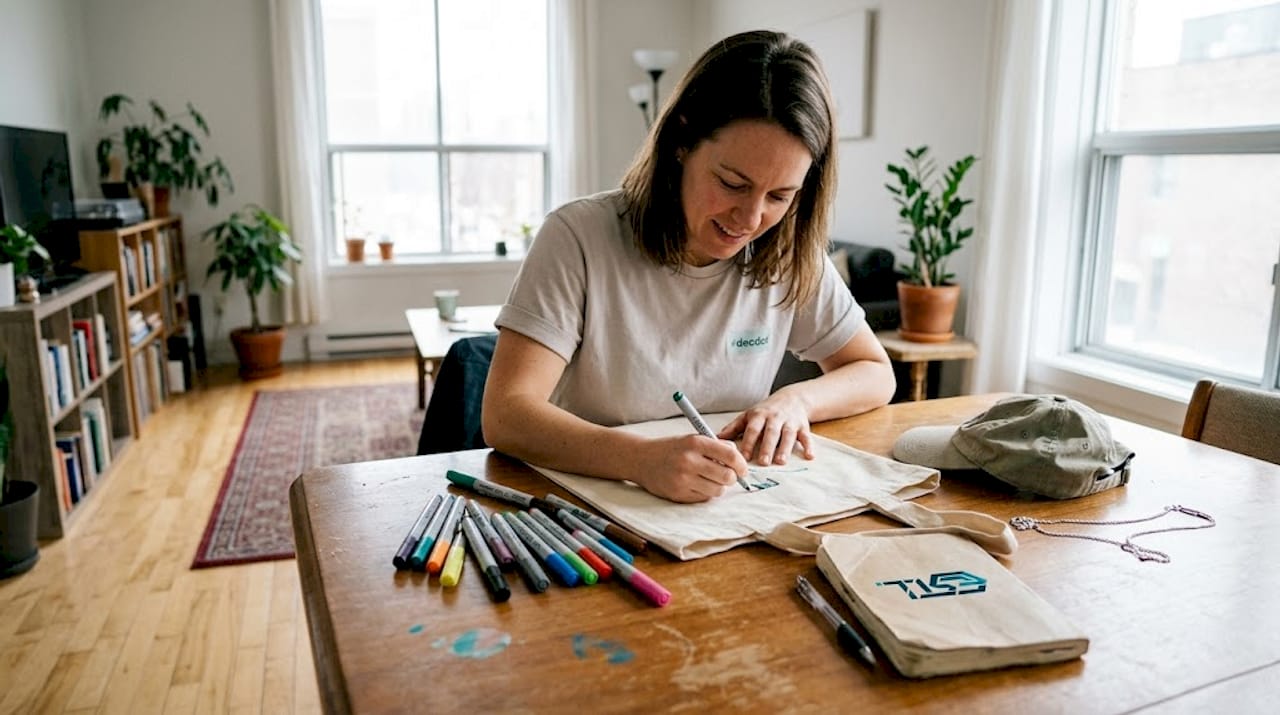
Now that you're all set, let's get into action with a detailed tutorial suitable for all levels.
Here are the steps to follow in order to obtain a clean and lasting result:
Pro tip: For complex designs, first cut a stencil from backrest protective plastic. This gives sharp contours without requiring a very confident hand.
"The application of a primer and fixative ensures the longevity of the customization and protects the work done in the long term."
Even with good preparation, inaccuracies happen. This is not a reason to start all over again. A light smudge can be corrected with a damp cotton swab before drying completely. Too intense a color can be toned down with a layer of diluted white. A shaky contour line turns into an intentional effect with a stronger stroke around it.
Successful customization often involves creative accessories worn withconfidence, regardless of their apparent imperfection. The eye adapts to what is assumed.
After this detailed user manual, let your imagination run wild with these original ideas to stand out.
The fashion for customization is changing quickly. Some techniques are making a comeback and giving visually strong results:
The choice of materials adapted to the substrate remains the primary condition for these techniques to produce a successful and durable result.
The most memorable creations often combine two approaches. For example, an embroidery on a painted background, or a spray stencil completed with rhinestone stitches. This mix creates visual depth and clearly distinguishes the part from industrial productions.
| Combination | Effect achieved | Difficulty level |
|---|---|---|
| Paint + Rhinestones | Festive and graphic | Easy |
| Embroidery + Painting | Textured and handcrafted | Intermediate |
| Bonding + resin | Avant-garde and contemporary | Intermediate |
| Graffiti + patch | Street and assertive | Easy |
| Watercolor + markers | Sweet and illustrated | Easy |
The chosen thematic universe structures all the personalisation. Some ideas that work well:
To hone your art direction, exploring different creative clothing styles helps understand how visual choices reveal a personality. Thesartorial originality is built gradually, piece by piece.
Customizing accessories is not just a trend. It is part of a deeper movement of rejection of standardized objects. Personalization means choosing not to blend in. It also means accepting that the imperfection of a handmade line is more valuable than a motif printed identically millions of times.
The right to make mistakes is an integral part of creation. A trembling line, a slightly overflowing colour: these details become the signature of the piece. They tell a story that industrial production cannot replicate.
Valuing the handmade in a world saturated with standardized accessories is also a statement. A hand-painted tote bag is no longer just a container. It is a work that is carried, visible, shared. The line between fashion and art is becoming increasingly thinner, and this is precisely where the richness of contemporary customization lies.
To make your ideas a reality and find even more resources, the estlshop.fr store has everything you need to get started.

Browse a selection ofaccessories to personalise : blank pieces carefully chosen to accommodate your creations. Each article is designed to offer a quality support, adapted to the techniques covered in this guide. For inspiration, also explore the original creations by artist Gary Kago. His colorful and expressive works offer a rich visual reservoir to orient your own palette and find a graphic style that suits you.
Canvas bags, tote bags, and fabric sneakers are perfect to start with thanks to their smooth surface and compatibility with many techniques. Choosing a suitable material such as textile or smooth leather greatly reduces the risk of failure.
Use a textile hairspray or iron at high temperature depending on the material to preserve the patterns over time. The application of the hairspray is a step that should not be skipped to guarantee the hold over time.
Yes, but you must choose specific paints and glues to adhere to these surfaces, and prepare the support well to prevent the customization from chipping. Primer and fixation are particularly essential on synthetic materials.
From 1 to 4 hours depending on the technique and drying time, but it is advisable not to rush the steps for a better final result.
Absolutely not. With a step-by-step guide and the right tools, anyone can customize their accessories and achieve a result they'll be proud of.


